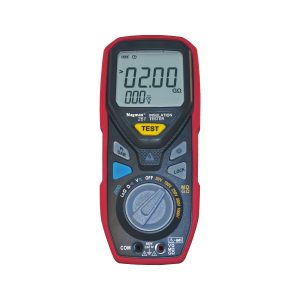
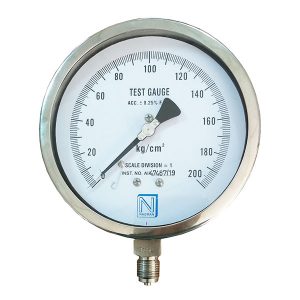
Manufacturing facilities must ensure that their instrumentation devices, such as temperature sensors, Analogue Gauge and Digital Indicators, pressure transducers, and so on, are operating and measuring within defined tolerances. If sensors slip outside of their specified range, it may bring catastrophe for the manufacturing facility resulting in expensive production downtime, lower quality product yielding, and safety issues. The best way to overcome such a nuisance is to have a maintenance plan to calibrate all the instruments properly and in a timely.
In most cases, how often instruments should be calibrated depends on their application, RTD calibration standard, comparison testers, QA requirements, performance, equipment calibration software, and safety regulations. However, manufacturing companies can consider some points for determining a calibration frequency. Such as
Standard Calibration Interval
Most instruments come with a manual, and it has an indication about the manufacturer-recommended interval for running a calibration like Pressure Tester Calibration, electrical instrument calibration, and temperature calibration. While following these rules, factories should be aware that critical calibration might require special intervals.
Before Conducting a Critical Project
It might often happen that a factory has realized that an instrument now needs testing, which ensures a highly accurate calibration measurement. In such a situation, the company should decide about the specific tool it will use to test and mend the errors. First, companies should send those instruments for calibration and Calibration Management, and afterward, they should keep them unused before conducting the test.
By calibrating your Test Measuring Instruments, you can gain a higher level of confidence that the unit used has remained within the tolerance level.
After a Measuring Project
Just as calibrating an instrument before a measuring project is important, an afterword calibration is also a necessity. Once you have used a measuring instrument in a project, it’s better to calibrate the instrument after finishing the project. It will inform you about how much relevancy or reliability the test bears.
Industries like pharmaceuticals and others should consider this point the most. Because they need the most accurate measurement for maintaining their product’s efficacy and making them safe. Such industries should use calibration management systems for quality.
After a Crucial Event
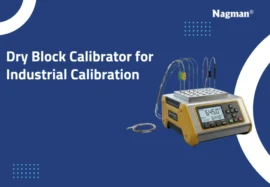
If any of your instruments take a hit, like if something knocks out its internal overload safety or a unit absorbs a physical hit, it would be best for you to send the equipment out for calibration and have its integrity checked. This step is crucial as some faults, like scratches, dents, or broken connectors, can not be detected with a manual check. That’s why using calibrators like block calibrators, infrared calibrators, liquid bath calibrators, etc., is the best practice in such situations to evaluate an instrument’s working order.
According to Requirements
Some measurement projects need to be calibrated and tested. Such requirements might not come with definite guidelines or be explicitly defined. However, they will be expected to be based on common standards. You should always review different specifications and different requirements for procedures before a test. Among all the requirements, the most common is an annual calibration. However, this can also vary depending on industry regulation, application, calibration database, or QA requirements.
Periodically
If you use Comparison Testers, mostly maintaining a short period between consecutive calibrations, it ensures better and more accurate test results. The time will come for you to realize that shorter intervals in calibration afford better specifications.
Companies should keep an eye for trends within their calibrated instruments. Then, they should periodically review them, note them, and make changes to remove the errors. When equipment gets older, it might show some drift before a level calibration system. Reviewing such trends or annual calibration results can help users comprehend the optimal cycle for their instruments. Users can choose the shorter or longer periodic cycle assessing the results.
Annually: Annual calibrations can balance the process between prudence and minimum costs for your non-critical and critical measurements like Temperature Measurement and Calibration and temp probe calibration.
Biannually: Biannual cycle for calibration would be best for the users who don’t need critical measurements and never expose their meters to any event, for example a rtd transmitter calibration.
Seldom: For tests like voltage check or another trivial gross measurement checking, calibration is like overkill. In such cases, you don’t need to calibrate.
Once you can figure out the time to calibrate your instruments, make sure you have given the responsibility to a reliable calibration service provider who has multifunction test benches or test bench workstations. Navman provides all types of calibrators like calibration software and service all around the world for years. Visit Nagman’s official website to learn more.


